- What software is installed on your target system?
- What services are exposed, and what versions of those services are they?
- Is something obsolete?
- And, most crucially, are there any known flaws?
A skilled scanner will be able to answer these questions. Today, we’ll look at three tools: Nmap, Nessus, and Greenbone Vulnerability Management (OpenVAS).
Nmap
Nmap, which stands for Network Mapper, is a free and open-source network discovery and security auditing programme. It can detect hosts on a network and offer detailed information about them, such as the hostname, operating system, open ports, running services and service versions, and so on.
Nessus
Tenable’s Nessus is a vulnerability assessment tool that comes in three flavours: free, professional, and expert. Tenable promotes Nessus as the best vulnerability assessment tool, searching for over 75,000 CVEs (Common Vulnerabilities and Exposures). Nessus provides a variety of customization choices for your scanning, such as the strength of the scan,the sorts of vulnerabilities to check for, and the ability to schedule a scan for a specified time and date. It may scan single targets or groups of targets in a network.
Greenbone Vulnerability Manager
Greenbone Networks handled the vulnerability scanner OpenVAS (Open Vulnerability Assessment Scanner). OpenVAS was once its own framework, but it is now a component of the Greenbone Vulnerability Management (GVM). The programme started as a fork of Nessus when the latter went from open source to closed source. While many people still refer to it as OpenVAS, we shall refer to it as GVM.
Configuring Each Tools
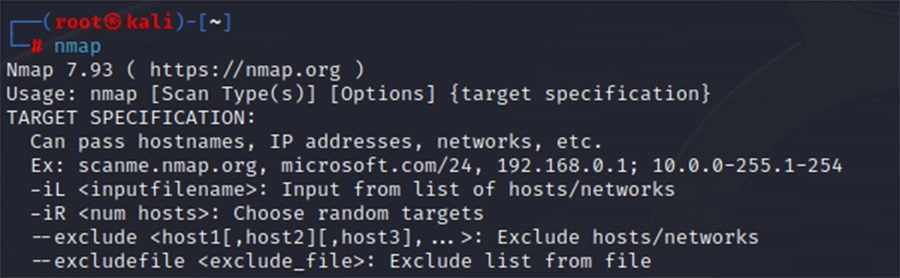
Nmap
In Kali Linux, Nmap is preinstalled and configured. There is no bootup or login because it is a command-line utility. Simply type “nmap,” followed by the flags you want to use and your target.
Nessus
There were a few steps involved in getting Nessus ready to go. We needed to go to the Tenable website and download the program.
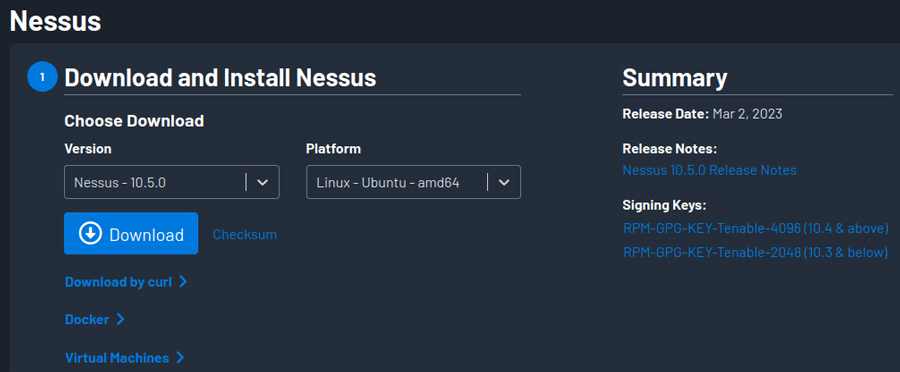
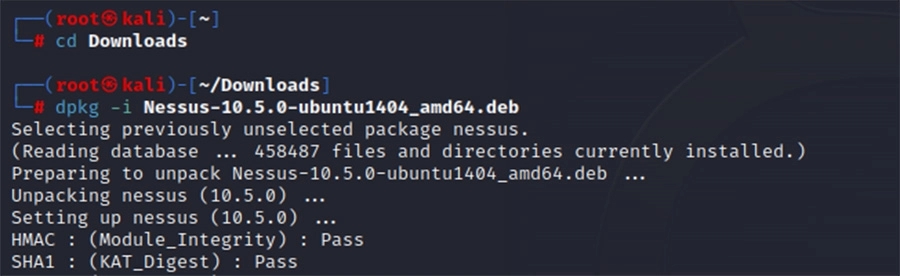
Once downloaded, we had to install it through the command line.
Following that, we chose the Essentials version (which is the free version).
To register an account and acquire an activation key, we required to submit an email address. It’s worth noting that a Gmail address was rejected because the email had to be “work” related. To complete the registration, we used our StationX email address.
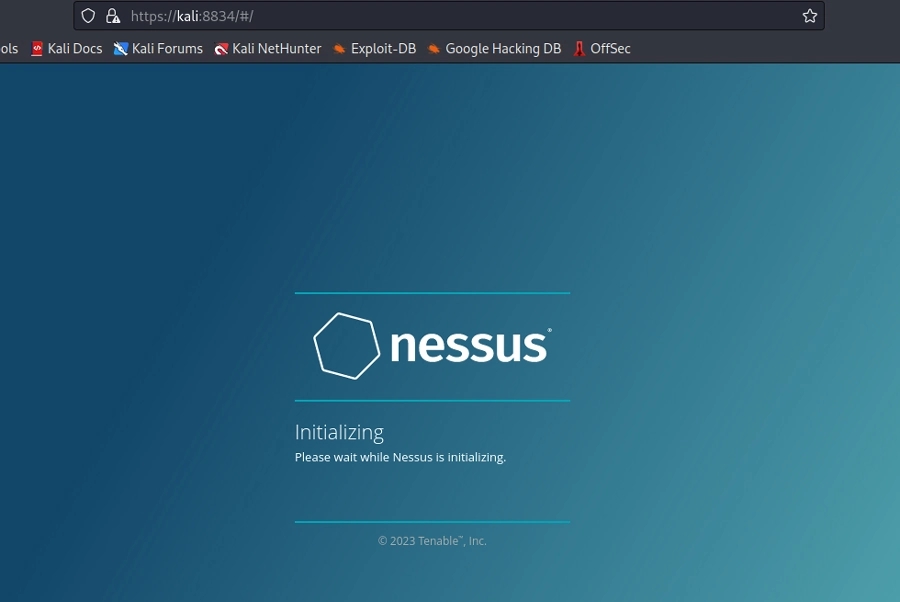
Nessus began to boot up.
It took 32 minutes from the time we downloaded the file to the time Nessus updated all of its plugins before we could run our first scan.
Greenbone Vulnerability Manager
Setting up GVM was a nightmare. While the enterprise version offers a readymade solution for simple installation, there was a lack of clear documentation for the community edition on the Greenbone website or online in general. We were able to locate a site that led us through the command line installation.
The commands were as follows:
sudo apt install gvm -y
sudo gvm-setup
sudo gvm-check-setup
After the installation is complete, you update the databases with the following commands
sudo runuser -u _gvm -- greenbone-nvt-sync
sudo runuser -u _gvm -- greenbone-feed-sync --type SCAP
sudo runuser -u _gvm -- greenbone-feed-sync --type CERT
sudo runuser -u _gvm -- greenbone-feed-sync --type GVMD_DATA
You can then log in to the GUI at https://127.0.0.1:9392. Don’t forget to copy down your very long password generated during the setup.